

 Learn WordPress
In this article, we would like to teach you how to install WordPress on localhost. There are many programs that allow you to install and host website builders like WordPress locally. Here, we talk about installing WordPress on localhost with XAMPP, MAMP, and WAMP.
Installing WordPress on localhost allows you to design and work on your website without purchasing a host and a domain. Once the website is completed you can proceed to buy a host and a domain name.
In our previous article, we discussed how to install WordPress.
What is Localhost?
In simple words, the localhost is a hostname that means this computer. It simulates the hosting server on your own computer. Without paying for any services hosting providers offer.
By using the localhost, you can install and run WordPress on your computer. The only requirement is to pick a server simulating programs like XAMPP, MAMP, and WAMP.
Why Should I Install WordPress on Localhost?
The question that remains unanswered is why should we install WordPress on localhost? Why not just purchase a host and a domain?
When WordPress is published on a live server, you can preview the changes, bugs, and errors live. Also, your audience can see bugs, changes, and errors as well.
Installing WordPress on localhost is like practicing before a big tournament. Installing WordPress on localhost has many advantages. For example:
- If there are any bugs and errors no one can see them but yourself.
- Locally hosted WordPress doesn’t require you to stay connected to the internet.
- Editing files and adding new content happens really quickly because you are not uploading them on a server.
- By installing WordPress on localhost, you can better understand and learn it.
- Installing WordPress on localhost is very cheap. As you don’t need to purchase any host or a domain.
- And etc.
How to Install WordPress on Localhost With XAMPP?
XAMPP is one of the programs that simulate the hosting environment on your local computer. Below, we will discuss the installation process, step by step.
First Step: Download and Install XAMPP
The first step is to install XAMPP. To download this program, click on the following link. Once the download is finished, open the program to install it on your system. If you have any anti-virus installed, you may see the following message.
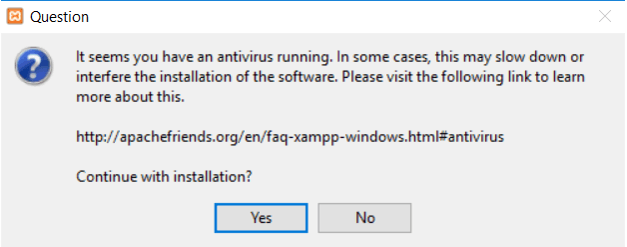
Click on Yes. Then, you will see the following screen.
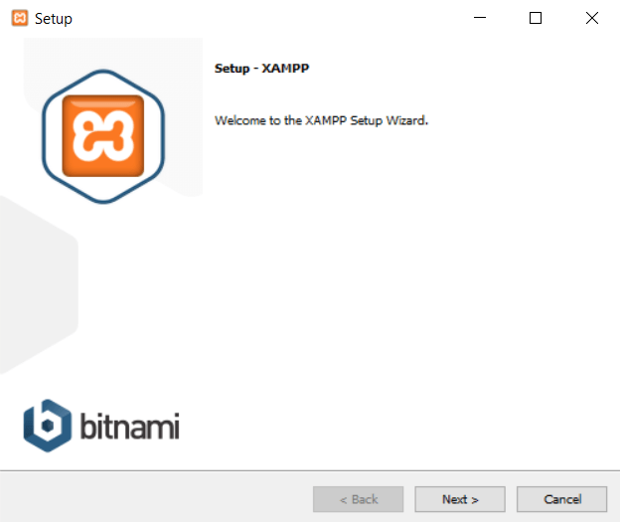
Click on Next.
In the next step, you must choose which components you need to install. To install WordPress on localhost, MySQL, and phpMyAdmin are needed. Make sure to check them.
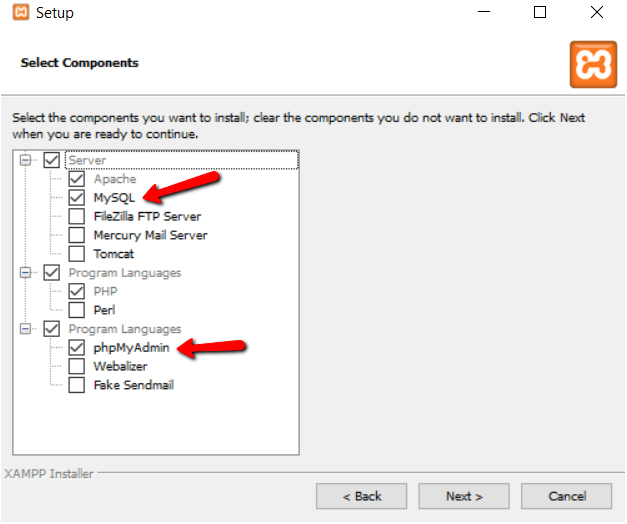
Other components are required and necessary to locally host WordPress. Uncheck them and click on Next.
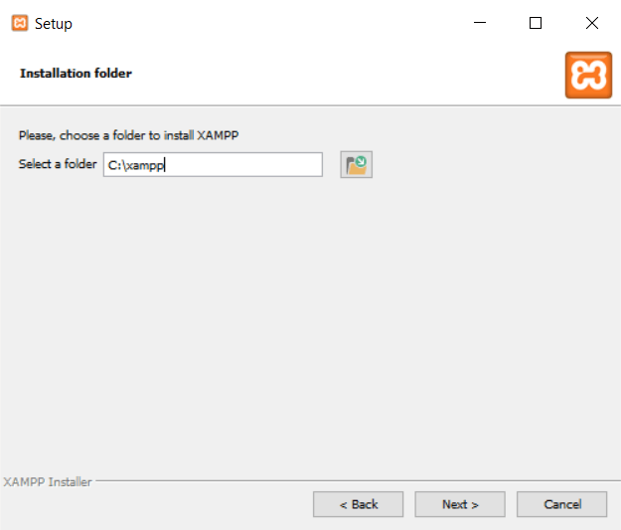
In the next step, you must choose a path for the installation. We recommend using the default path. Then, click on Next.
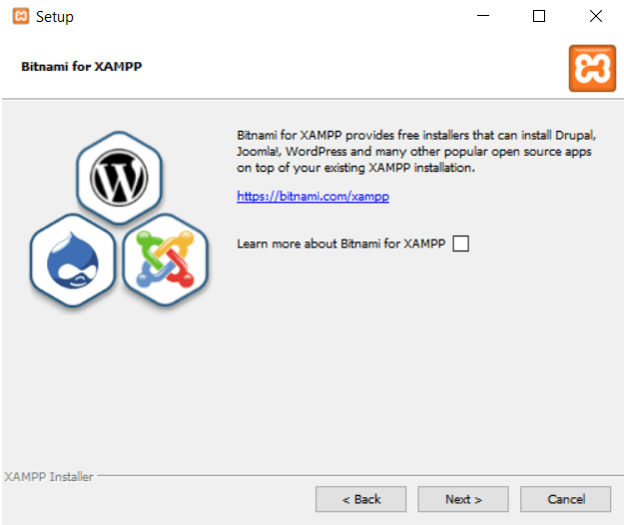
In the next step, XAMPP asks you if you would like to install Bitnami as well. Bitnmai is a program that installs other CMS’ for you. But it’s not necessary. Therefore, uncheck it and click on Next.
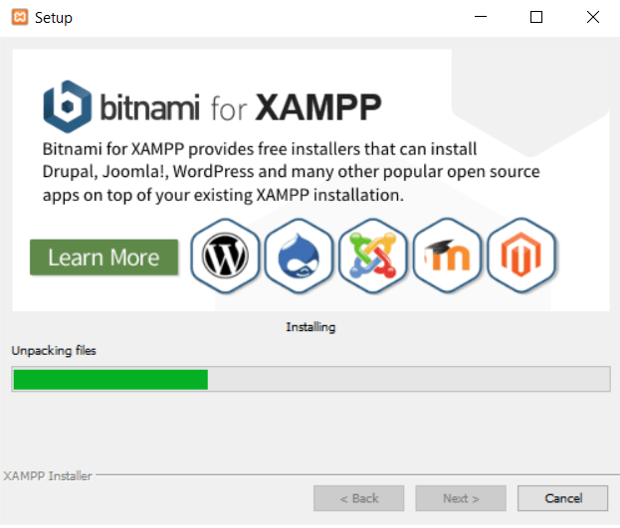
By clicking on Next, XAMPP begins to install itself. The duration of the install depends on your computer’s specifications.
Once the installation is finished, open its control panel by clicking on Finish.
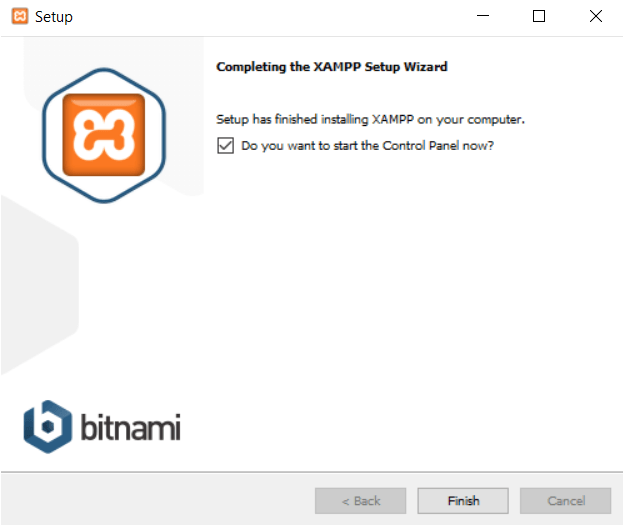
Now you have successfully installed XAMPP on your computer.
Second Step: Running XAMPP and Testing it
The second step is to run XAMPP and test if it’s installed correctly. As mentioned above, to install WordPress locally you will need:
- MySQL
- Apache (phpMyAdmin)
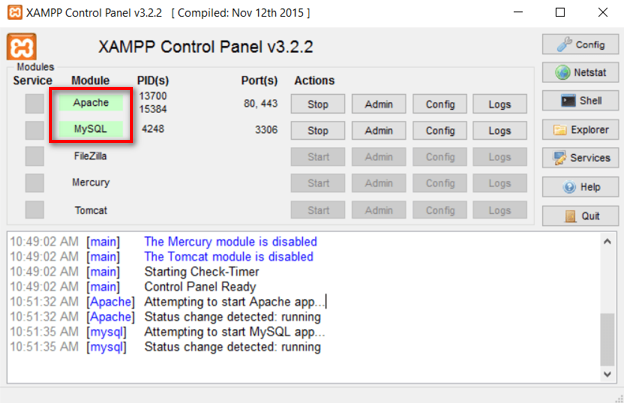
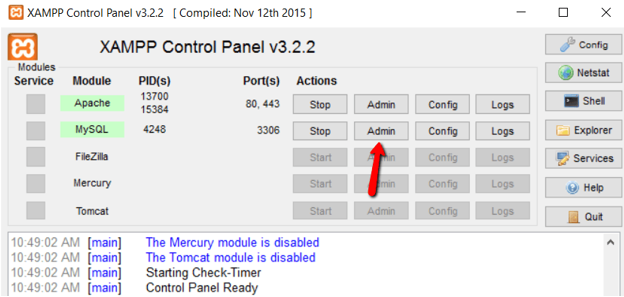
To run these two modules, from the XAMPP control panel, click on Start next to each of them.
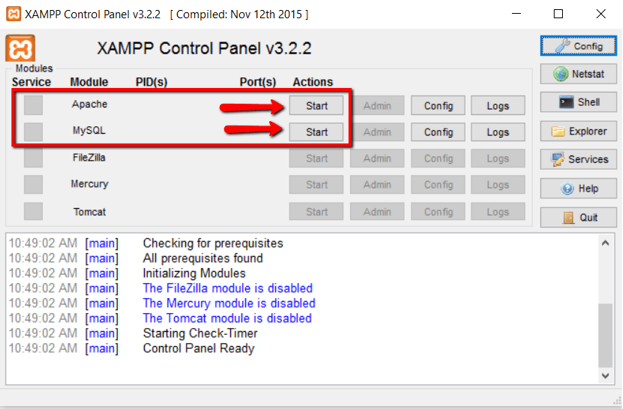
If by clicking on Start the color turns green, it means everything is working fine and the modules are installed correctly.
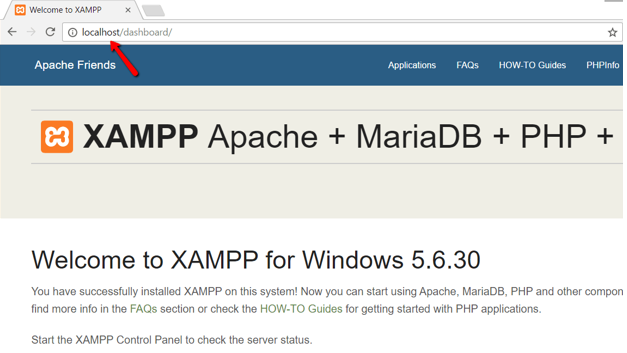
Now it’s time to check if your localhost is working with XAMPP or not. Open your browser and type in http://localhost then press Enter. If you’ve followed the steps above, you should be able to see the following page:
Third Step: Adding the WordPress Core Files
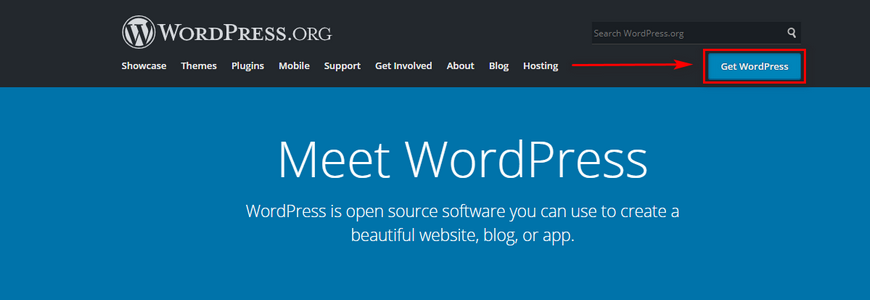
To install WordPress on the localhost with XAMPP the next step would be adding the WordPress core files. First, download the latest version of WordPress from the official WordPress website.
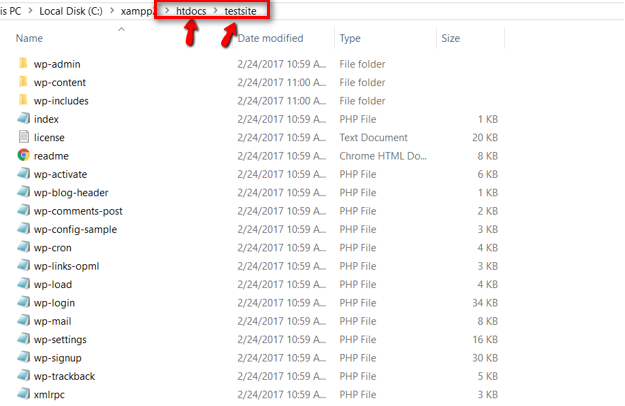
Once WordPress is downloaded, go to the XAMPP root directory. If you used the default path, it can be found at C://xampp and look for htdocs folder.

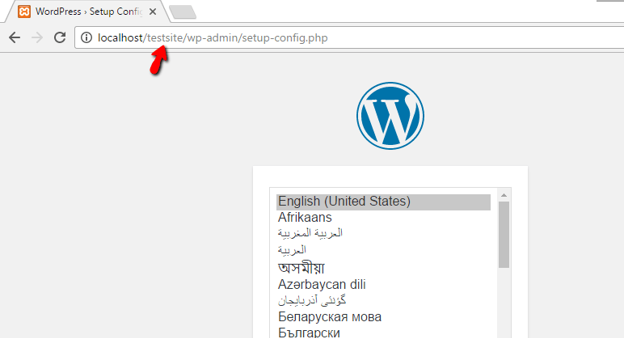
Open htdocs and create a new folder for the local WordPress. For example, if you call the folder testsite, you can access local WordPress with the following URL:
http://localhost/testsite
After creating this folder, you must unzip the WordPress you have downloaded into the folder.
Fourth Step: Creating the Database
The fourth step is to create a database for WordPress. Whether you install WordPress locally or on a server, you will need to create a database.
To create a new database from the XAMPP control panel, click on Admin to open phpMyAdmin.
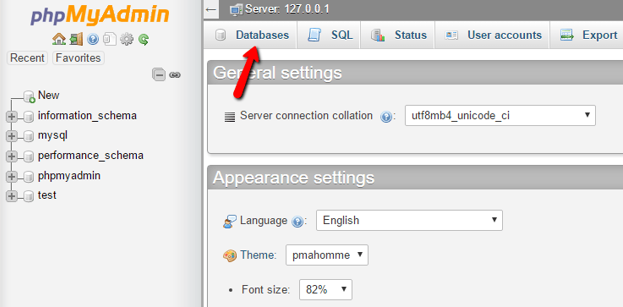
Click on Databases on top. To create a new database.
In the next step, you must choose a name for the database. It can be anything but choose something you can remember. Because it is needed in the next step. Then click on Create.
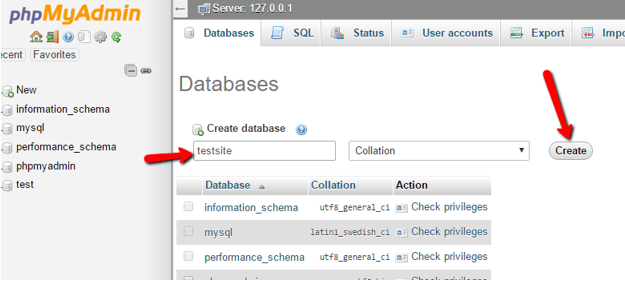
Unlike the live version, there is no need to create a username for the database.
Fifth Step: Installing WordPress
The last step is to install WordPress. After adding the WordPress files and creating the database, open the localhost URL in any browser, and begin the installation process.
http://localhost/testsite (testsite is the folder we created in the htdocs folder)
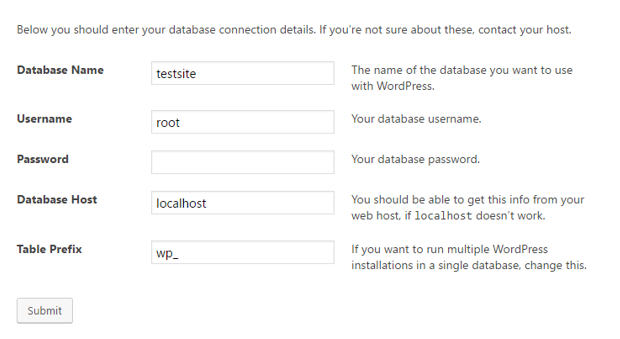
The main difference between live WordPress and locally hosted WordPress is the database. When you reach the database information, enter the following:
Database Name: The name you created in the previous step.
Username: root
Password: Make sure it’s blank
The rest is similar to installing WordPress normally. You are done once the process finishes.
How to Install WordPress on Localhost with MAMP?
There are three steps to install WordPress on localhost with MAMP:
- Create a hosting environment.
- Download WordPress core files.
- Install WordPress.
It doesn’t matter which hosting simulator you are using those three steps is the essentials. Let us discuss how to install WordPress on localhost with MAMP, step by step.
First Step: Download MAMP
MAMP can be downloaded from its official website. Download the suitable version of your operating system. Since MAMP is very user-friendly it gained a lot of popularity over the years. On the other hand, this program is available for both Windows and Linux. In addition, it comes in both free and premium versions.
Second Step: Install MAMP’s Server
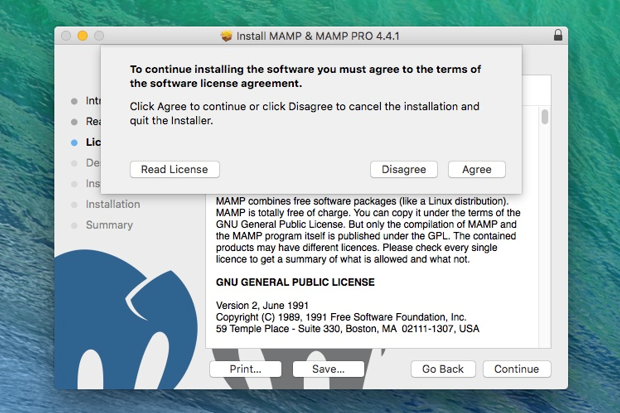
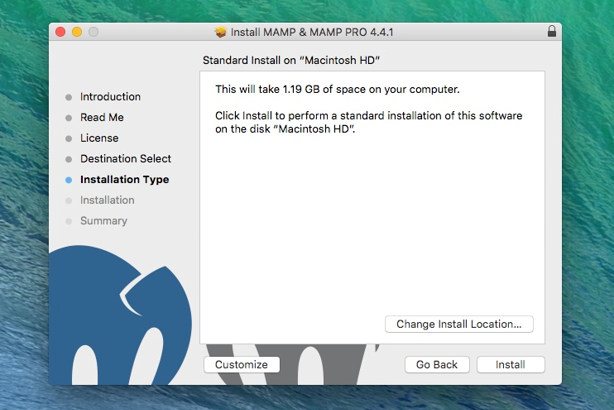
The next step would be to install MAMP’s server. Once the download is finished, begin the installation process. First, click on Agree for terms and conditions.
Click on Install on the next page.
Third Step: Running MAMP
Once the installation process is finished, run MAMP on your computer. Open the program and click on Start Servers.
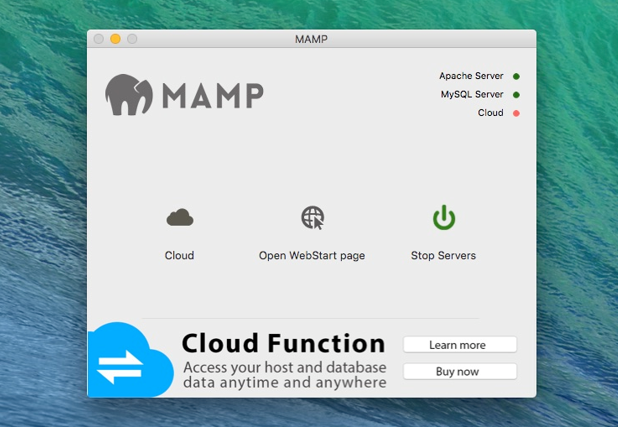
Once you click on Start Servers a new tab will be opened in the browser. You will see a message saying MAMP has been installed successfully.
Fourth Step: Creating the Database
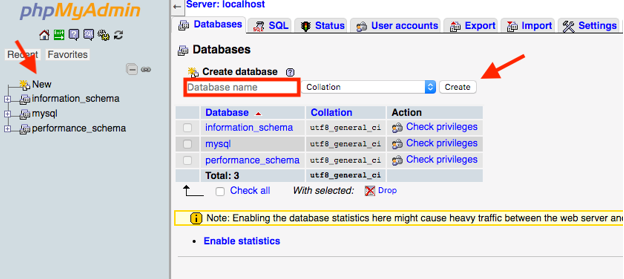
Once the server is ready for use, it’s time to create the database. This step is similar to creating a database in the XAMPP software. Every website needs a database to store its information.
From your browser go to localhost/phpMyAdmin. Click on Databases > New, then choose a name for the database and click on Create.
Fifth Step: Adding WordPress Files
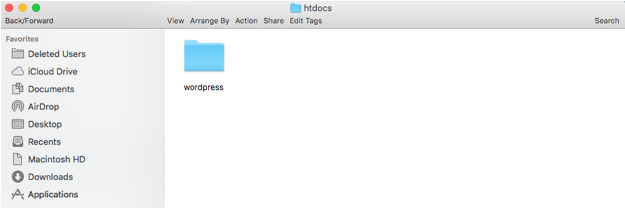
The next step is to download WordPress files. To download WordPress head over to its official website. Then, you will have to unzip it.

Head over to the folder you have installed MAMP. Look for htdocs within the folder. Open it, and create a new folder. Its name can be anything, here we named it “wordpress”. Unzip the WordPress files there.
Sixth Step: Installing WordPress
The last step is to install WordPress. Go to localhost/wordpress (wordpress is the name of the folder we have created in the htdocs) with your browser.

Choose your language and click on Continue. Then, click on Let’s go!
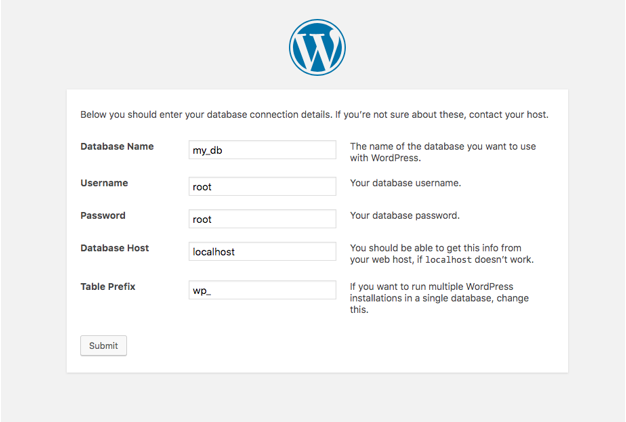
Now you must enter your database information. The database name is the name you have chosen in the fourth step. Type in root for both password and username. Then, click on Submit.
On the next page, click on Run the installation. By doing so, WordPress begins installing itself on your computer. Once the installation is completed you will have to enter the basic information required to launch WordPress.
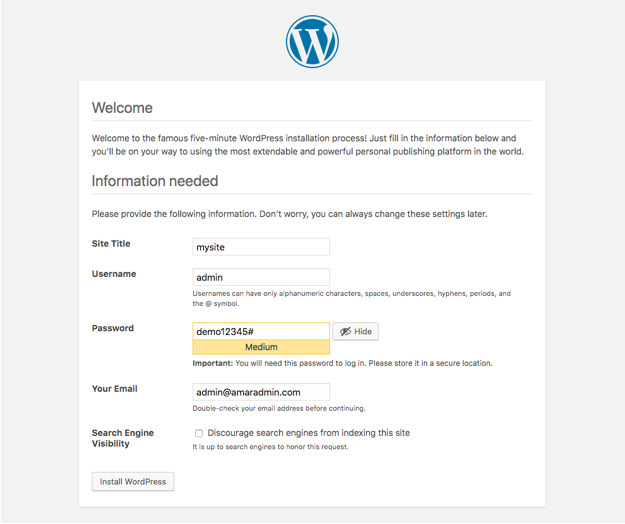
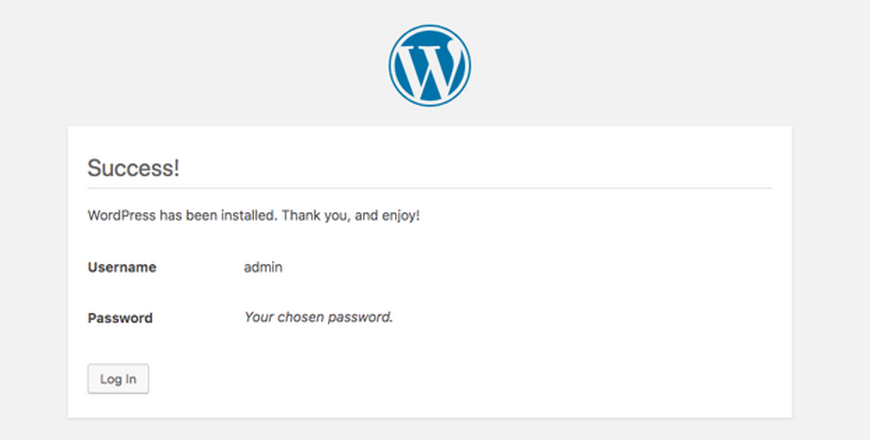
After typing in the required information click on Install WordPress. If you have followed the steps above, you should be able to see the following image.
How to Install WordPress on Localhost with WAMP?
WAMP is another popular server simulating program. However, it is designed specifically for Windows.
First Step: Download and Install WAMP
First, you need to download and install WAMP. Head over to its official website and click on Start Using WAMPSERVER.
On the next page choose the suitable version for your operating system. (32bit or 64bit)
Once the download is finished, open the .exe file to begin the installation process.
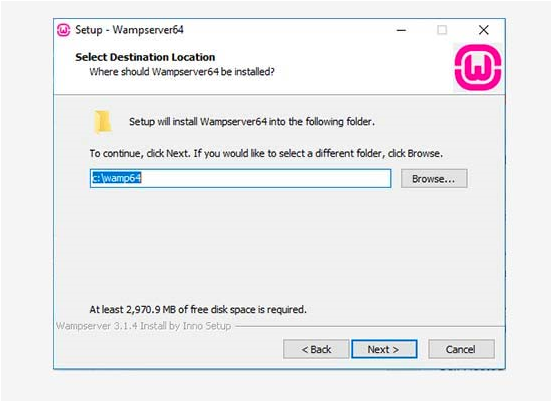
Choose a path, then click on Next. However, we recommend using the default path it has chosen.
Second Step: Creating the Database
After installing WAMP, it’s time to create a database for your website. If you have installed WAMP correctly, its icon will be placed in the Taskbar. Right-click on it and select phpMyAdmin.
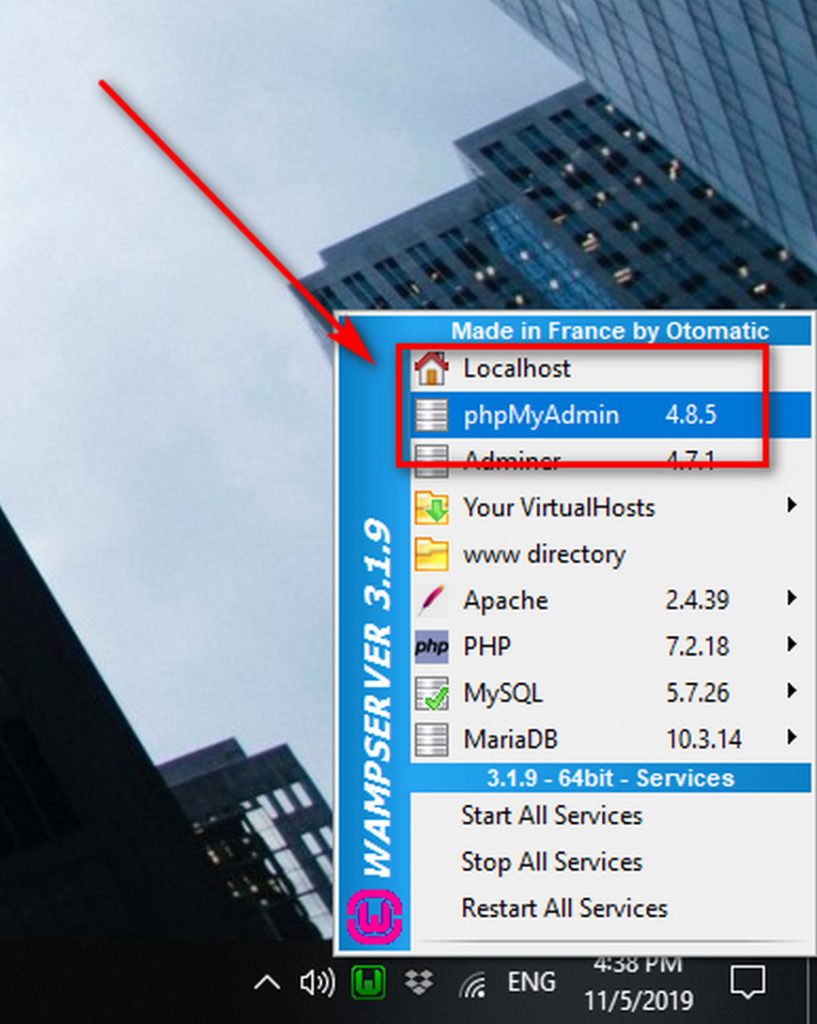
If the icon is red it means the WAMP servers are not working. If that’s the case, first, start all services then click on phpMyAdmin.
By clicking on phpMyAdmin, a new tab will be opened in your browser. Type in root for username and leave the password blank. Then, click on Go.
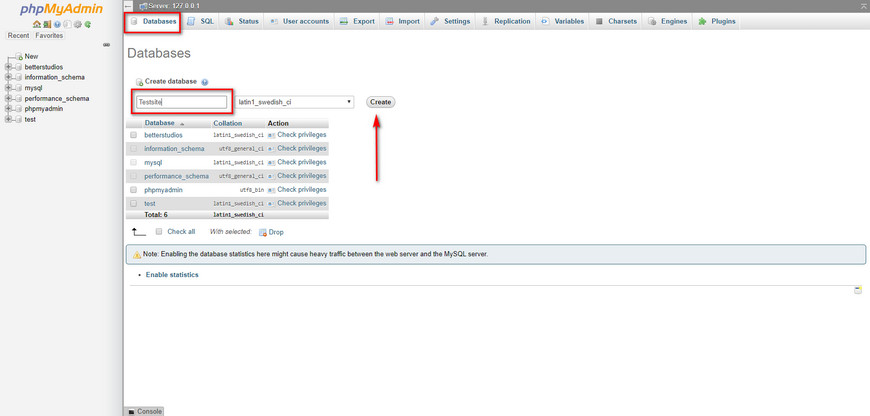
On the next page, click on Databases. Choose a name and click on Create. (Don’t forget the name)
Third Step: Installing WordPress
Like other programs, the last step is to install WordPress. To install WordPress, first, you need to download its ZIP file from the official WordPress website. Unzip the file once it is finished downloading. Then, go to C:\wamp64 (or wherever you have installed WAMP). Create a new folder, choose a name for it, and copy and paste the WordPress files to it. For example, we chose WordPress.
From your browser go to http://localhost/wordpress. Your WordPress installation has begun. The installation process is exactly like the steps mentioned above. Once again, the most important part is entering the database information.
Enter your database’s name and type in root for username. Leave the password blank. Then, click on Submit.