One of the most common issues that beginners to WordPress experience is, WordPress not sending emails. Fixing this problem is very important.
In some cases even when you have the right plugins, the right setting, you will experience your WordPress website not sending any emails and your WordPress email marketing process is failing.
Usually, this is server-side and with a few tweaks, it can be fixed. But the question is, why WordPress is not sending emails? How can you fix it? We tend to discuss this matter in this article.
Why WordPress is not sending emails?
Before we find any solutions, we must answer this question, why WordPress is not sending emails? The main cause is PHP and mail(). In other cases, some plugins that block spam may consider your emails as spam, therefore, your website won’t send any emails.
In this case, even if you succeed to send an email, it will land in the “Spam” box. This is one of the reasons experts recommend not to send newsletter emails through your WordPress website. Below, we will discuss the best possible options to fix this problem.
How to Test WordPress mail server?
One of the basic methods to fix this problem is by testing your mail server. How can you test your WordPress mail server? To do so, you will need to use a simple plugin known as “Check Email”.
After downloading, installing and activating head over to “Tools” and click on “Check emails”. Now in the “send a test email” enter an email address (preferably yours so you can test whether it works or not) and click on send a test email.
After sending you will see a message (like the picture below). After seeing this message, check your email address even your “Spam” folder. The title of the sent email will be a test email from https://example.com.
Now that you have checked your mail server and realize your WordPress can indeed send an email, you may move to the next step and check your “Contact Form” plugin’s setting. If that is the case for you, we highly recommend you to contact the support team of your plugin.


How to Install Gmail SMTP in WordPress?
What is SMTP? This could be the first question you have in mind. SMTP is short for simple mail transfer protocol. A very simple and standard protocol to use emails through WordPress. The difference between this protocol and PHP is, this protocol uses a security system which means your emails are secured and won’t be identified as spam.
To use this protocol on your WordPress website, you will need to use a plugin. In this article, we will talk about Gmail SMTP plugin. Because this plugin has way more reviews and ranking compared to its competitors. Don’t forget, to fully use all of its features you will need to pay a subscription fee. For example, in the free version, you can only send 100 emails every 24 hours, which can be frustrating for your business.
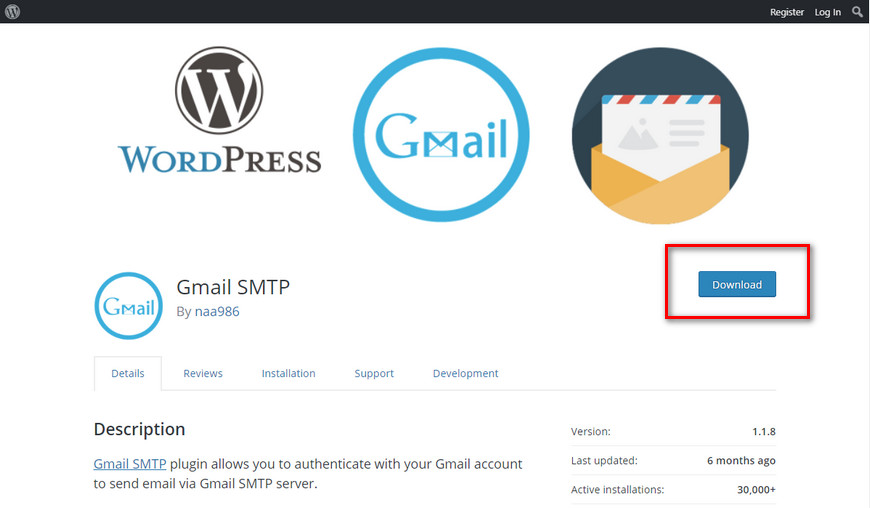
Before anything, download and install Gmail SMTP from WordPress plugin store. After installing, activate it in your plugin’s setting.

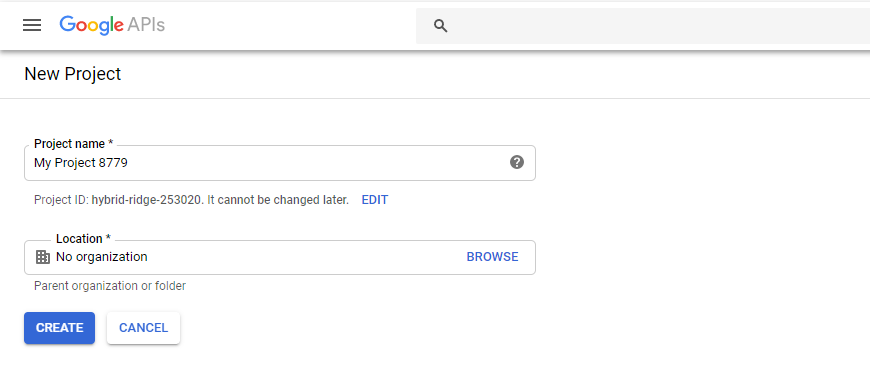
After installing and activating the plugin, enter to Google wallet and create a new project by using this link.

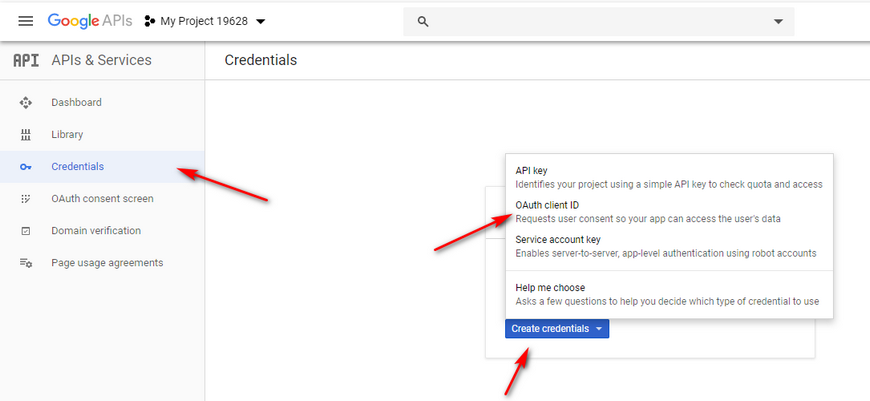
Then choose the Credential option on the left side and click on Create Credential. Now choose OAuth client ID and click on Configure consent screen and then save the changes.


In the next step, choose Web application and renamed it to “Gmail SMTP”.

Now return to WordPress dashboard and choose Gmail SMTP plugin and copy your Authorized Rediret URL.
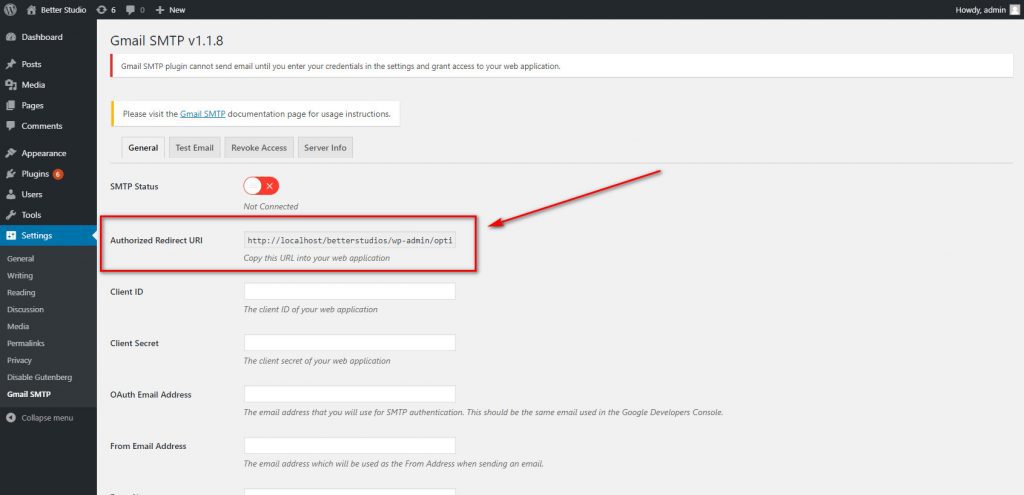

From the OAuth client, popup window copy both client ID and client secret and paste them in the plugin configuration. Then, click on Ok to close the popup window. Go back to the plugin and enter the Gmail address you will be using to send emails and the one you created the project with. Copy the same email address and paste it in the From Email Address field.
Choose a From Name. The name which will be used as the From Name when sending an email. Scroll down and locate SMTP Port and type in 587 and if you are using an SSL certificate use 465 instead. Then, make sure to click on Save Changes. Then scroll down and click on Grant Permission.


After saving the changes, Grant Permission button will appear.
Return to WordPress dashboard and check whether the SMTP Status is Connected or not. If the status is connected, the installation is done successfully.
How to Install and Configure Mailgun in WordPress?
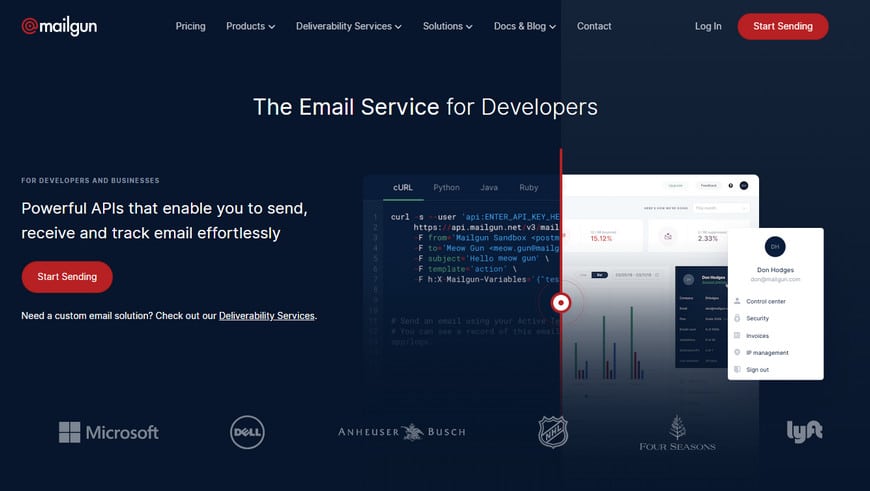

Another way you can use to fix your problem is by using Mailgun. Mailgun is another service used by WordPress websites to send emails. This service offers a variety of features to its users. For example, you can send out over 10000 emails each month.
To use Mailgun, first, you need to register on their official website. Once you are done with creating an account on their website click on “Add your domain”. A page will open where you have to enter a subdomain from your main domain. Once you enter a subdomain, Mailgun will show you some information about your DNS.
In the next step, head over to your cPanel. Go to your DNS settings.
In this section, you will have to change any current DNS setting to the ones Mailgun has given you.
In the “Name” section choose the subdomain name. Change the “TXT” value to “Type”. Also, in “TTL” type 14400. Lastly, in “TXT Data” type the amount shown in the “Mailgun verification page”.
Go back to your cPanel. Click on “MX Entry” from your Mail. You will then have to enter your main domain name. Scroll down until you find “MX”, enter “priority” and “destinations” values and then click on “Create new record”.
You have now registered your domain name with Mailgun. You now need to wait for your DNS to update itself, this usually takes 24 to 48 hours. To check your DNS status, you can head over to your Mailgun account and click on “Domains”. Once it’s connected/activated you can send emails from your WordPress website.
To do so, you will need to install WP Mail SMTP by WPForms plugin. To download this plugin, head over to WordPress official plugin store or website. Then go to your WordPress settings and click on “WP Mail SMTP”. In this section, enter the desired email address in “From Email” and desired name in “From Name”. In the “Mailer” section you must select Mailgun as your mail server. Don’t forget to tick “set the return path to match the from email”.


You will then need to enter the “Private API key” and “Domain Name” values. To do so, click on the links below the boxes of each option. Once you are done make sure you click on “Save Settings”.
By following this instruction, you can simply use Mailgun. To make sure this plugin is working properly click on “Email Test” in your SMTP plugin.


