Having images in your content makes your page look appealing and it makes your content more understandable. So adding images to your website’s content is very important. WordPress has introduced a new editor called Gutenberg. This editor has many different features compared to the classic editor. With Gutenberg editor, you can add images, albums, gallery and also it makes editing texts very simple. Gutenberg is an all in one editor. In this article, we will teach you how to use Gutenberg to add and edit images in WordPress.
Adding images to WordPress
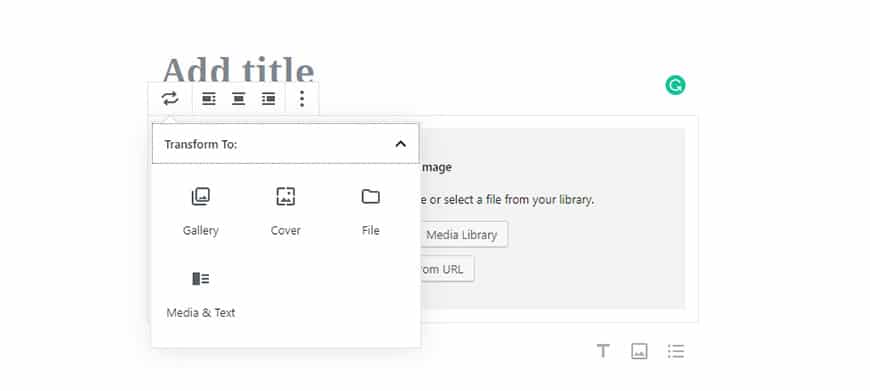
First of all, you need to upload your image. Don’t forget that in this article we will discuss adding images to WordPress version 5.0 and above. To add an image, Gutenberg editor gives us 5 options (Blocks): Inline Image, Gallery, Media & Text Image, and Cover.


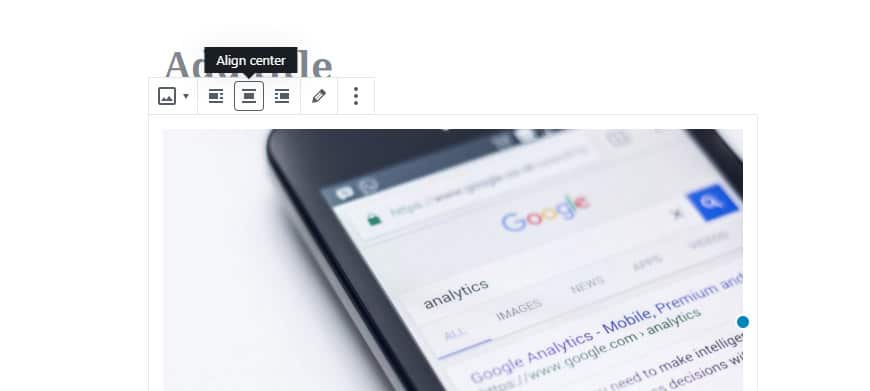
First, we will look into Image block. To add an image to WordPress first you need to click on Add New Block, then click on Image. A window will appear which allows you to pick the picture you want to insert (either from your computer or your WordPress gallery). When the image is added, on the top right corner there are alignment settings:
- Align left
- Align center
- Align right
- Wide width
- Full width
Also, you may be able to see blue dots around the picture, by clicking and dragging them you can resize your image.
Alignment and changing image position
The options on the top right corner of the image will allow you to position the image wherever you want. For example, if you click on align right and align left, the image will move to left or right side of the text (depending on the option you’ve clicked on), and if you click on align center the image will be moved to the center of the screen. Selecting Wide width option will cause the image to appear wider than the width of the text block, and by selecting full width your image will cover the entire width of the screen.


But if you want to perfectly align an image alongside the text, it’s best to look for Media and Text after clicking on Add a New Block. This option gives you a block mix of text and image, which simplifies typing and having an image next to your text. Media and text also comes with many options. for example, you can swap text and image. You can also choose whether you want it to be full screen or not. Also, when you’re typing, the text and image get aligned automatically, this makes your content more appealing.
How to place two pictures next to each other in WordPress
In the classic editor, in addition to inserting images in WordPress, we could have also added a gallery to the content, which displayed several images in a set. But just as the way of adding a picture to WordPress has changed, adding the gallery is not like before either. In Gutenberg editor, there’s a block defined to add a gallery which you can use to display several pictures simultaneously. To use this feature, you will have to click on Add New Block and select Gallery. Alignment and positioning settings are exactly the same as Image block. However, you will see a new setting to edit how many pictures you would like to display along side each other.
If you wish to display two pictures, it’s best to use Gallery block. Pick your two pictures and on the right bar select “Column” and change its settings to display only 2 pictures. There are other features too, such as cropping an image or even tagging it.
How to add text on images using Cover block
Gutenberg features are not limited to adding images only. With Gutenberg, you can also add text to your images without using any extra plugins. Once again simply click on Add New Block and select Cover. Then pick the image you wish to add your text to. On the column that appears, after selecting Cover you can pick different filters and change overlay colors. With Fixed Background, you can keep the image stable while scrolling. This option is very popular with the WordPress community.


